


Understanding Small Closet Challenges
Common Issues with Small Closets
Small closets often struggle with limited space, making it difficult to organize clothes and accessories effectively. Items tend to pile up, leading to clutter and frustration. Without proper organization, it’s easy to lose track of belongings or create wasted space that could be optimized.
Another frequent issue is the lack of vertical separation on shelves. When items stack without clear boundaries, they can topple over or get mixed together. This makes finding specific pieces time-consuming and can discourage tidiness.
Why Shelf Dividers are a Game-Changer
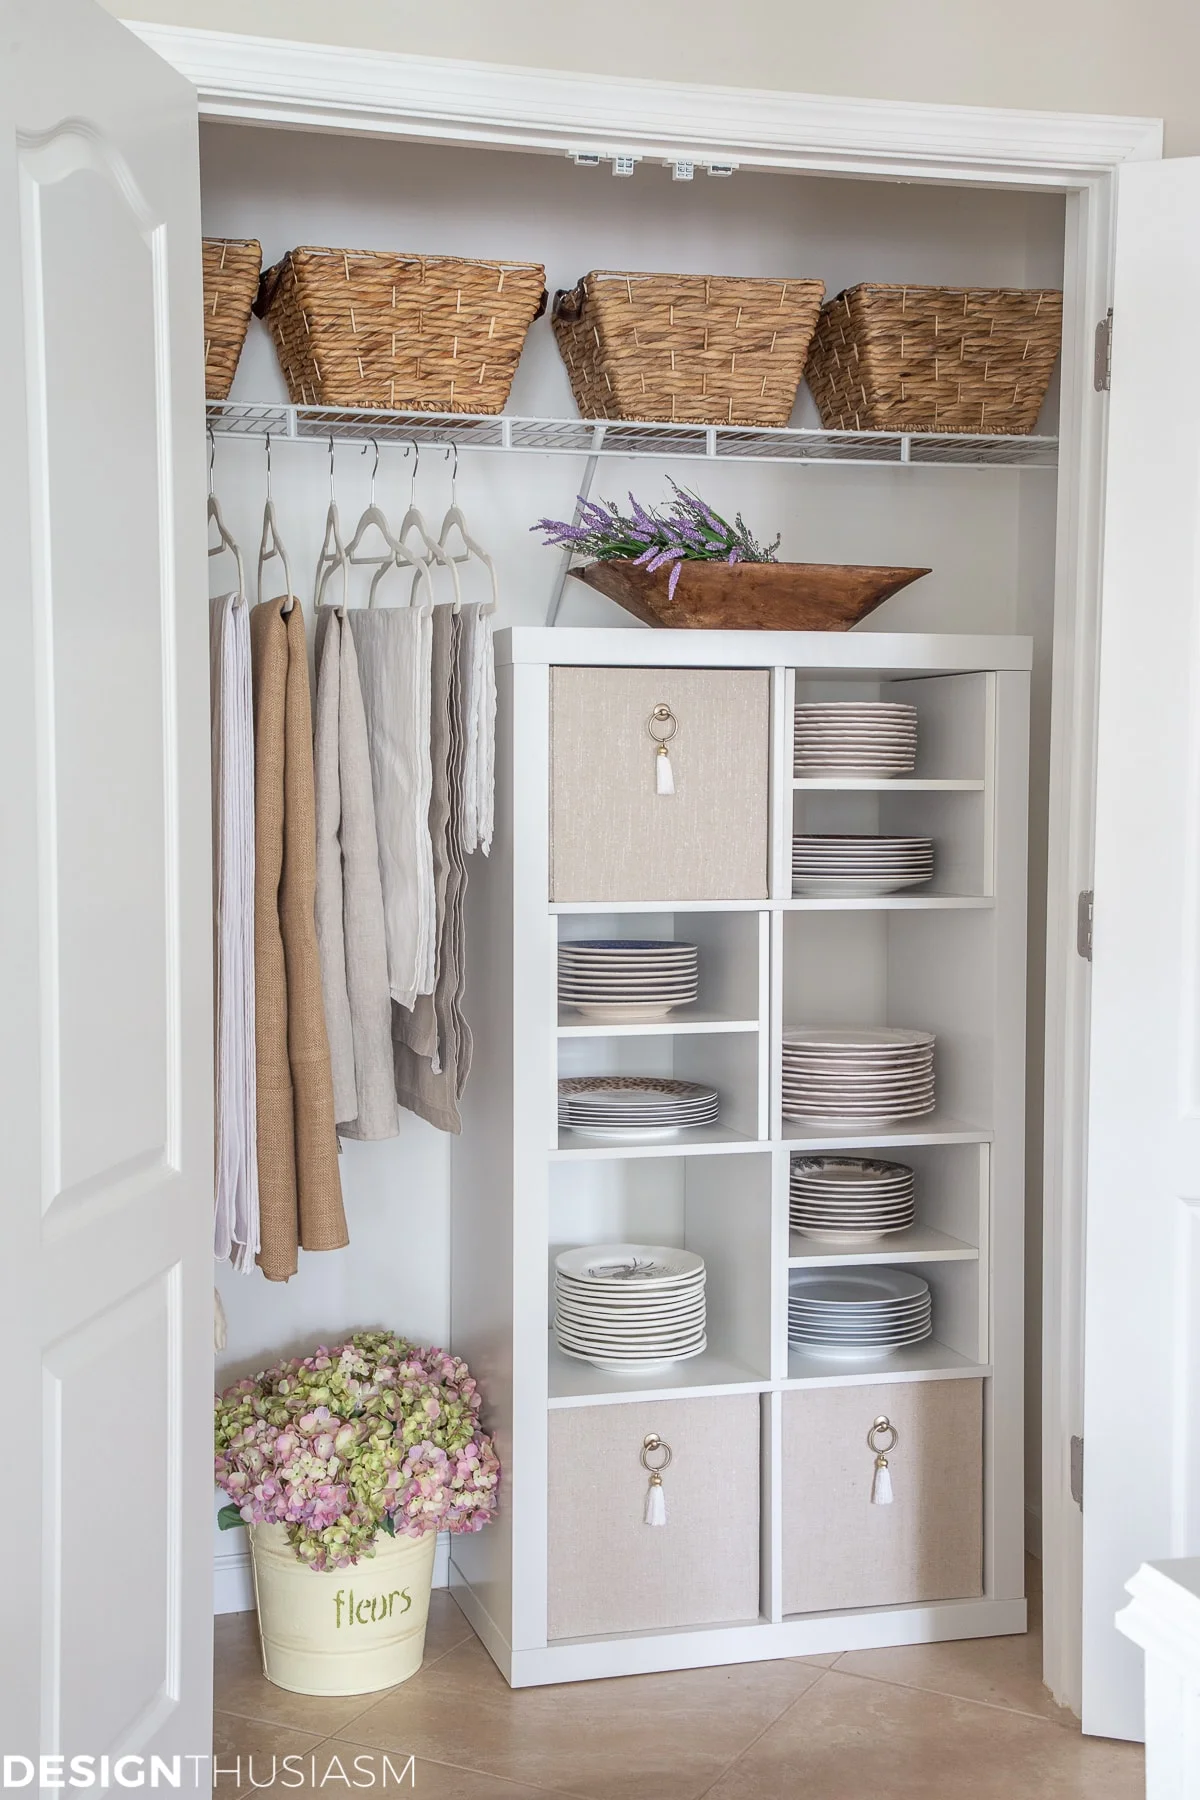
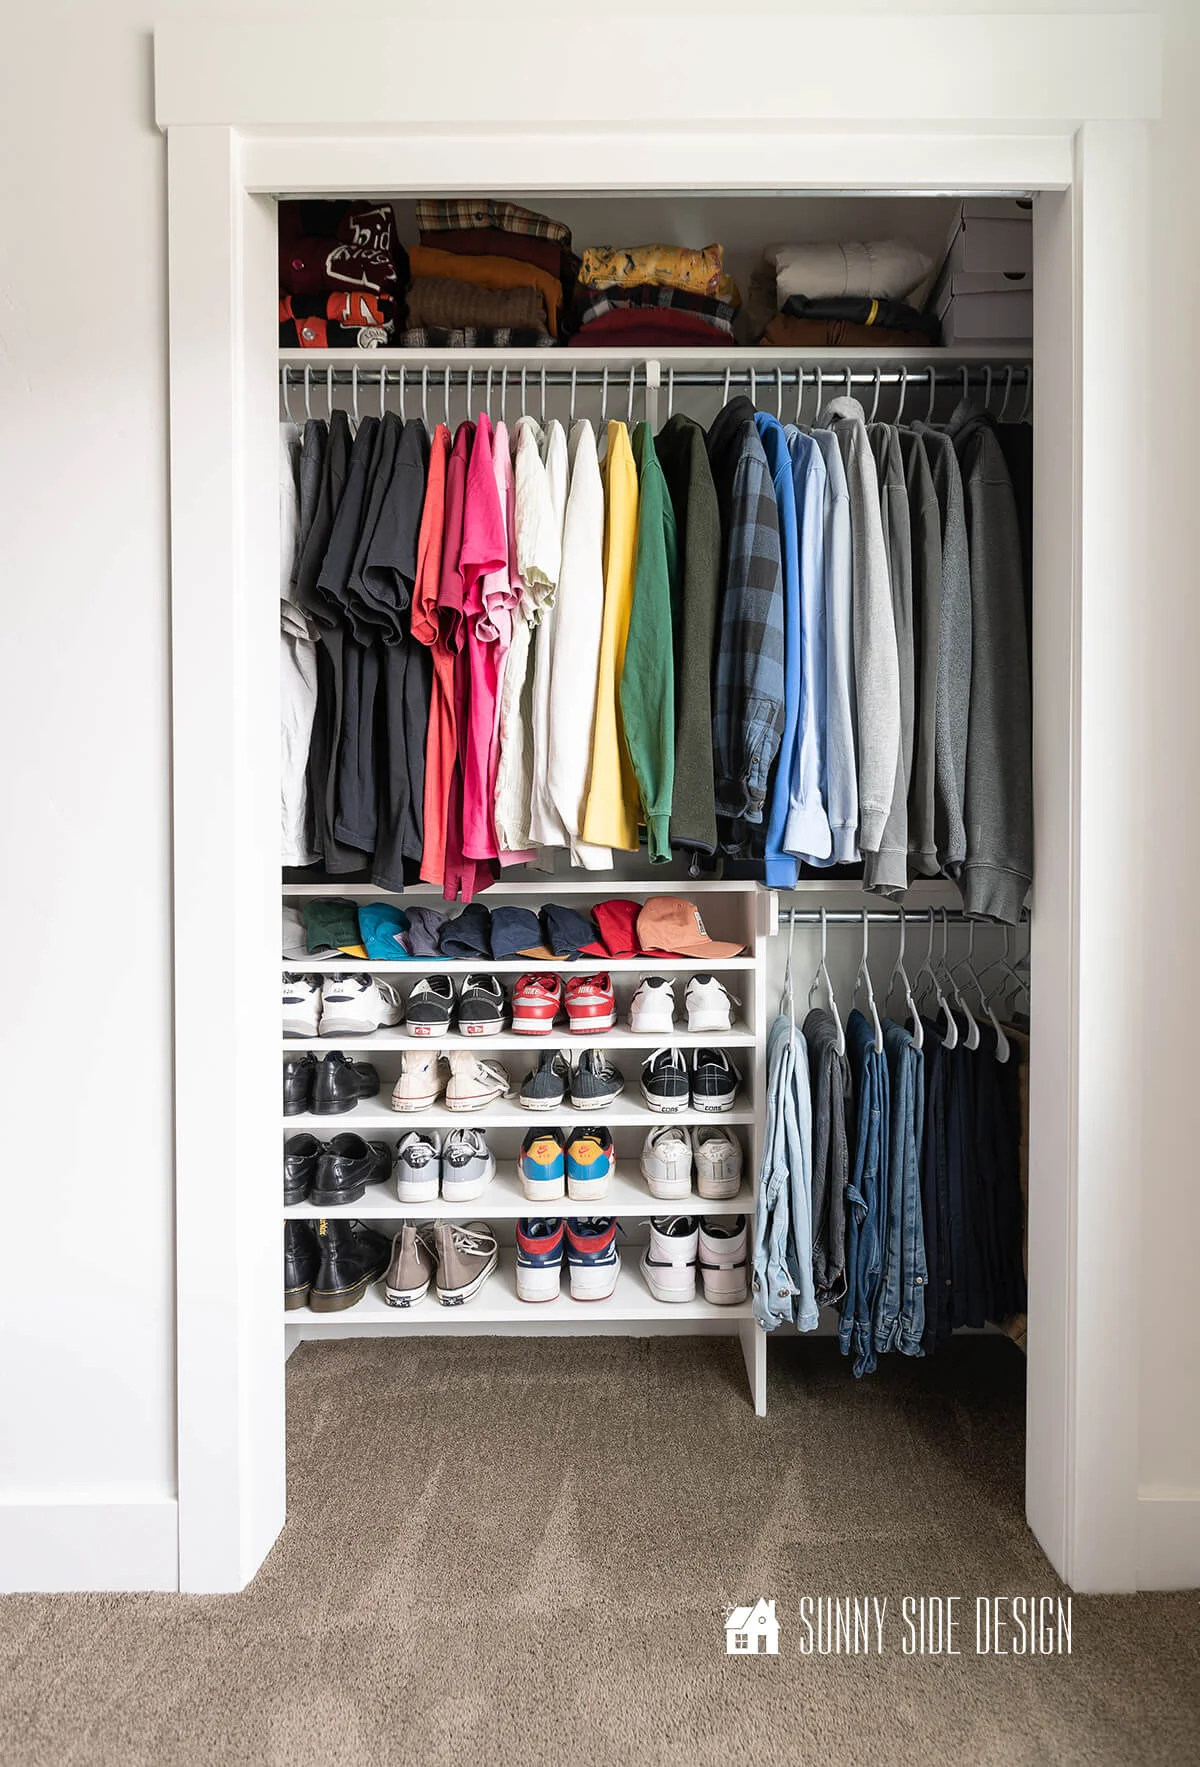
Shelf dividers help transform cramped shelves into well-defined sections. By creating physical boundaries, they prevent stacks from toppling and keep items neatly separated. This simple addition maximizes every inch of available shelf space and enhances visibility of stored goods.
DIY shelf dividers are especially useful because they can be customized to fit specific shelf dimensions and storage needs. Using them improves accessibility and encourages consistent organization habits, turning a small closet from chaotic to efficient.
Choosing the Right Materials for DIY Shelf Dividers
Affordable and Easy-to-Find Options
When selecting materials for DIY shelf dividers, consider commonly available items like plywood, medium-density fiberboard (MDF), or sturdy plastic sheets. These options are budget-friendly and easy to work with. Cardboard reinforced with tape can serve as a temporary solution but lacks durability.
Plastic or acrylic dividers are lightweight and visually unobtrusive, but typically cost more. Wood materials provide strength and a natural look but require more effort to cut and finish. Choose based on your skill level, budget, and closet needs.
Tools Needed for Construction
To build effective shelf dividers, basic tools include a measuring tape, a pencil for marking, a handsaw or jigsaw for cutting, sandpaper for smoothing edges, and wood glue or screws for assembly. A drill may be necessary if you opt to screw pieces together. If working with plastic, a utility knife or plastic cutter will help achieve clean cuts.
Safety Tips When Handling Materials
Always prioritize safety by wearing protective gear such as gloves, safety goggles, and a dust mask. Work in a well-ventilated area, especially when using adhesives or cutting wood. Handle sharp tools carefully and keep your workspace tidy to prevent accidents.
Step-by-Step Guide to Building Shelf Dividers
Measuring Your Shelves Accurately
Start by measuring the width, depth, and height of the shelf space where dividers will be installed. Accurate measurements are crucial to ensure dividers fit snugly and provide stable support. Record all dimensions clearly before cutting materials.
Consider the thickness of your chosen divider material when measuring to avoid gaps or overly tight fits. If shelves vary in size, measure each section separately for a customized result.
Cutting and Assembling Dividers
Using the measurements, carefully cut your materials to the correct dimensions. Sand down edges to prevent splinters or roughness. If you are creating corner dividers, assemble pieces at right angles using wood glue or screws, ensuring joints are secure.
Test the pieces by placing them on the shelf before final installation. Adjust cuts if necessary for a smooth fit.
Installing Dividers for Maximum Stability
Position dividers on your shelves and press firmly so they stand upright. For increased stability, consider adding small brackets or securing the bottom edges with non-slip pads. If attaching to the shelf walls, use screws or adhesive strips designed for shelving.
Check that dividers are evenly spaced to accommodate the items you plan to store. Proper installation minimizes shifting and maintains the organized system.
Creative Ideas to Optimize Your Closet Storage
Customizing Dividers for Different Item Types
Adjust the height and width of divider sections based on what you store. Tall dividers can separate boots or folded sweaters, while smaller sections work well for shoes, accessories, or bags. Using adjustable or modular dividers provides flexibility as your needs change.
Consider combining dividers with storage bins or baskets to contain smaller items. Transparent or labeled bins enhance visibility and simplify retrieval.
Labeling and Categorizing Sections
Adding labels to each divided section helps maintain order over time. Use simple tags or adhesive labels to identify categories like “T-shirts,” “Scarves,” or “Pants.” This visual aid speeds up the process of finding and putting away clothes, reducing clutter buildup.
Organizing by season, color, or frequency of use also makes your closet more functional and personalized.
Maintenance and Adjustments for Long-Term Use
How to Keep Dividers Secure Over Time
Periodically check the stability of your shelf dividers to prevent loosening or shifting. Tighten any screws, reapply adhesive where used, and clear away accumulated dust or debris. Keeping dividers in good condition ensures they continue to provide effective separation.
Use shelf liners or protective pads to reduce friction and wear on divider edges and shelves.
When and How to Update Your Setup
Closet needs evolve, so reassess your divider configuration every few months or when adding new items. Adapt sections to accommodate changes in clothing style or quantity. Consider replacing worn materials or upgrading to more durable options as needed.
Refreshing labels and reorganizing contents during seasonal closet cleanouts can maintain an efficient and tidy space year-round.


")


