


Introduction to Energy-Efficient Window Insulation Film
What is Window Insulation Film?
Window insulation film is a thin, transparent plastic layer that you apply to your windows to improve your home’s energy efficiency. It acts as an extra barrier to reduce heat loss during colder months and keeps heat out when it’s warm outside. This simple addition can make a surprising difference in how well your home retains temperature, preventing drafts and reducing energy bills.
Benefits of Using Insulation Film
Installing window insulation film offers a range of benefits. Besides helping to lower heating and cooling costs, it enhances comfort by minimizing cold spots near windows. It’s an affordable solution for boosting the energy performance of older or single-pane windows without the need for costly replacements. Plus, the film can reduce condensation build-up, protecting window frames from moisture damage. Overall, it’s an easy upgrade that supports a greener, more efficient home.
Choosing the Right Window Insulation Film
Types of Insulation Films Available
Not all window insulation films are created equal. Some are simple plastic sheets that create a sealed air pocket when installed; others come with reflective coatings designed to block infrared rays. There are also tinted options that reduce glare and UV damage while maintaining natural light. Understanding these choices helps you pick the film that best fits your needs, whether it’s maximum insulation or enhanced light control.
Watch the Tutorial
Factors to Consider Before Purchase
Before buying, consider the size and number of windows you want to cover, the local climate, and whether your home faces direct sunlight for much of the day. Durability and ease of installation are also important, especially if you want a reusable or seasonal solution. Keep in mind that some films are designed for specific window materials or shapes, so compatibility is key for effective performance.
Top Brands and Recommendations
Several reputable brands offer quality window insulation films that balance performance and price. Look for products with positive reviews emphasizing durability and ease of use. Popular kits often include all necessary materials and clear instructions, making them a good pick for beginners. Opt for trusted brands that provide warranty or customer support to ensure peace of mind.
Preparing Your Windows for Installation
Cleaning and Surface Preparation
Proper preparation is crucial for a lasting installation. Begin by thoroughly cleaning the window trim with soapy water and a soft cloth. This removes dust, grease, and residues that can interfere with adhesion. Don’t rush this step—any dirt left behind can cause the film to peel or bubble later. Allow the area to dry completely before moving on to measurement and cutting.
Measuring and Cutting the Film
Next, measure each window precisely, taking note of width and height. When cutting the film, it’s helpful to leave about a 1-inch overhang on all sides. This extra margin allows you to adjust and stretch the film during application, ensuring a tight and wrinkle-free fit. Cut carefully to avoid jagged edges, which can make installation more challenging or impact the final appearance.
Step-By-Step Installation Guide
Tools and Materials Needed
While some window insulation film kits come with all necessary materials, it’s good to gather a few basic tools beforehand. You’ll need scissors or a utility knife to trim the film, and a hairdryer for shrinking and setting the film once in place. Having a soft cloth for final smoothing and soapy water for cleaning is also essential. Preparing these items ensures a smooth, frustration-free process.
Application Techniques for Different Window Types
Applying the film varies slightly depending on your window type, but the principles remain similar. Start by attaching double-sided tape to the window trim, cutting tape strips to size for each side and pressing firmly. Some kits include a pre-taped edge, typically used only at the top for easy hanging. Carefully apply the film over the tape, leaving about an inch overhang. Then, gently pull and stretch the film outward to smooth out any wrinkles, working from the center to the edges.
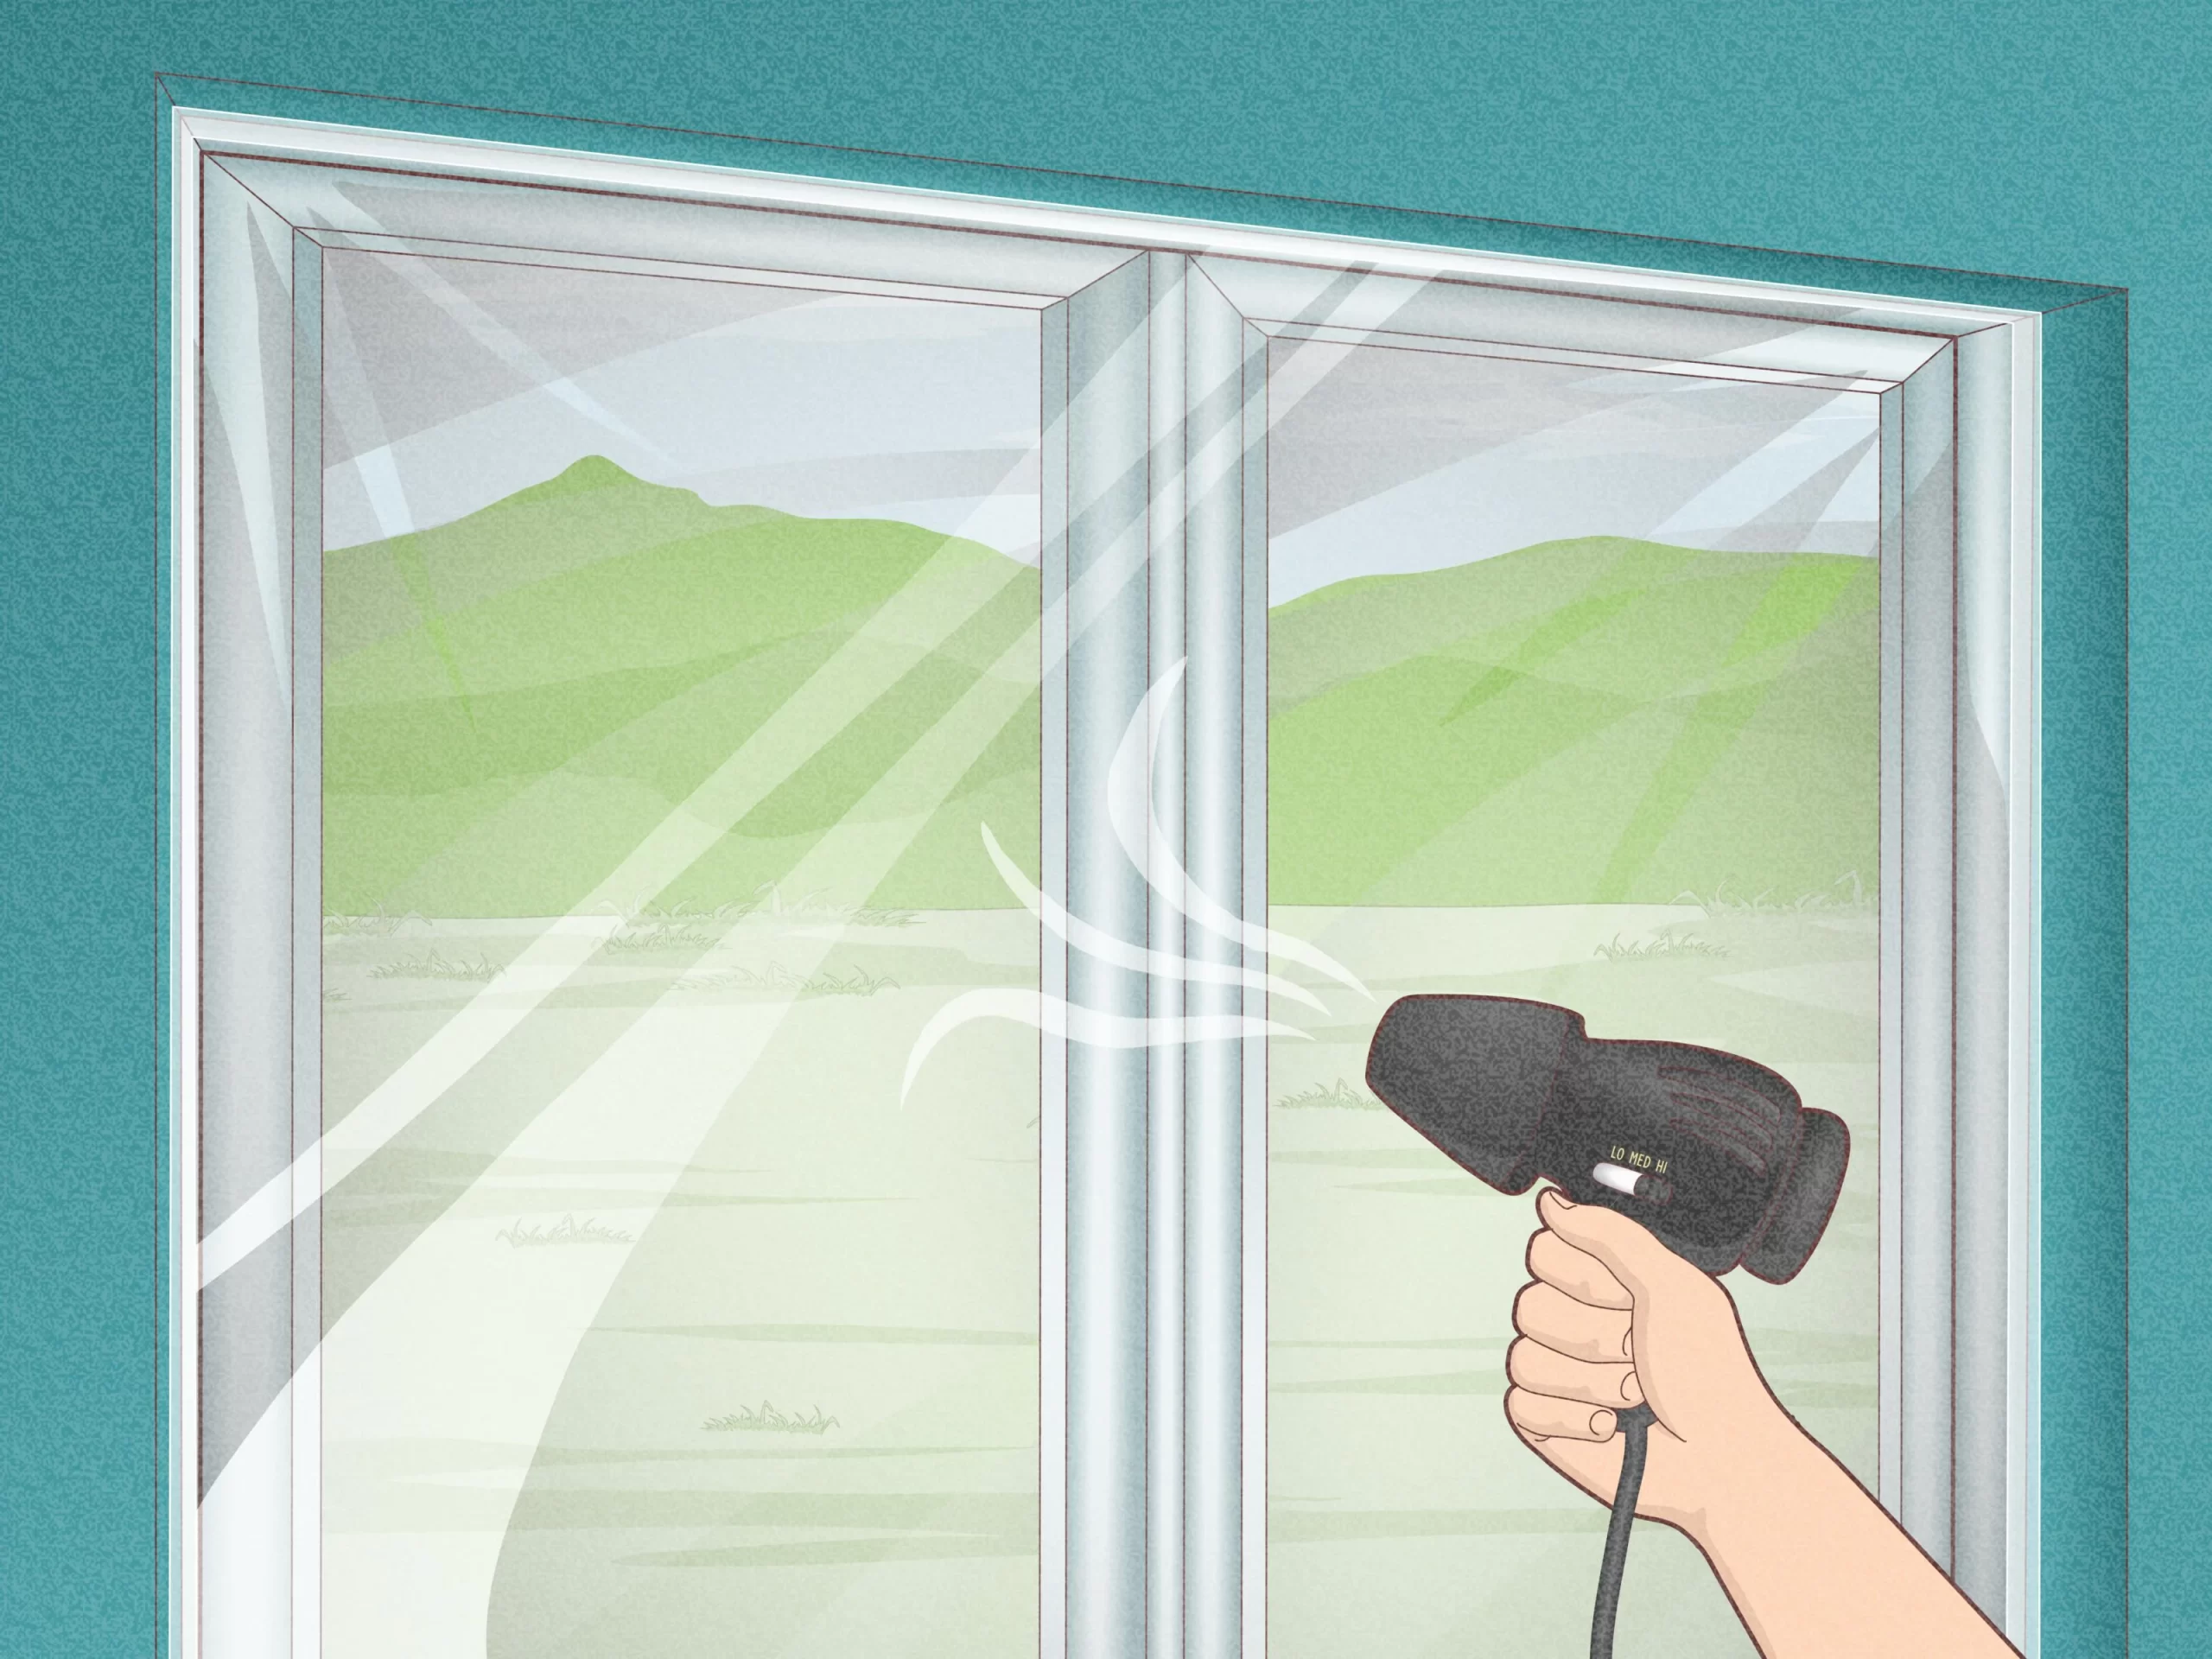
Once the film is positioned, use a hairdryer set to the highest heat setting. Hold it about 4 to 6 inches away from the film, moving in a slow circular motion. This process shrinks and tightens the film, creating a smooth, nearly invisible finish. Finally, trim any excess film with scissors or a utility knife for a clean look.
Common Mistakes to Avoid During Installation

Despite seeming straightforward, installation can be tricky if you don’t watch out for certain pitfalls. One common mistake is neglecting to clean the window trim properly, which prevents tape adhesion and leads to peeling. Another is failing to pull the film taut, causing wrinkles or bubbles that reduce effectiveness. Be careful not to hold the hairdryer too close to the film; excessive heat can warp or damage it. Lastly, skipping the trimming step leaves unsightly edges prone to peeling over time. Paying attention to these details will help you achieve professional-looking results.
Maintaining and Removing Window Insulation Film
Cleaning and Care Tips
Caring for your insulation film is fairly simple. Wipe it gently with a damp cloth to remove dust or smudges, avoiding harsh chemicals or abrasive tools that might scratch the surface. Regular cleaning helps maintain clarity and performance, especially for films that also reduce glare or UV light. If you notice any bubbling or peeling, it’s often fixable by reheating the affected area with a hairdryer and smoothing it out.
When and How to Remove Film Safely
Removal is typically done at the end of the heating season or when replacing old film. To remove, gently peel the film from one corner, pulling slowly to avoid tearing. If adhesive residue remains, use warm soapy water or a mild adhesive remover, followed by careful cleaning. Removing film properly helps protect your window surfaces, making future installations just as easy as the first.


