


Understanding the Basics of Cabinet Hinges
Types of Cabinet Hinges and Their Uses
Cabinet hinges are essential components that enable doors to swing open and closed smoothly. Understanding the different types helps in selecting the right hinge for each cabinet. Common varieties include the concealed hinge, often used in modern cabinetry for a clean look, and the traditional butt hinge, which is visible when the door is closed. Specialty hinges, like inset or overlay hinges, also cater to specific door designs. Each type offers distinct advantages depending on the door weight, style, and installation method.
Common Causes of Worn Hinges and Door Sagging
Over time, cabinet hinges experience wear due to frequent use. The constant motion can loosen screws, causing the door to sag or hang unevenly. In some cases, the metal of the hinge may fatigue or corrode, reducing its effectiveness. Additionally, the cabinet door itself may gain weight from moisture or damage, putting extra strain on the hinges. Recognizing these issues early is crucial to maintaining proper door alignment and functionality.
Step-by-Step Guide to Restoring Worn Cabinet Hinges
Tools and Materials Required
Before starting the restoration, gather the necessary tools to ensure a smooth process. Basic items often include a screwdriver set, replacement screws, a lubricant such as WD-40, cleaning cloths, and a small brush for removing dirt and rust. Having these ready prevents unnecessary interruptions and helps you address all components effectively. If dealing with more complex repairs, such as dowel installation, additional specialty tools may be needed.
Removing and Inspecting the Hinges
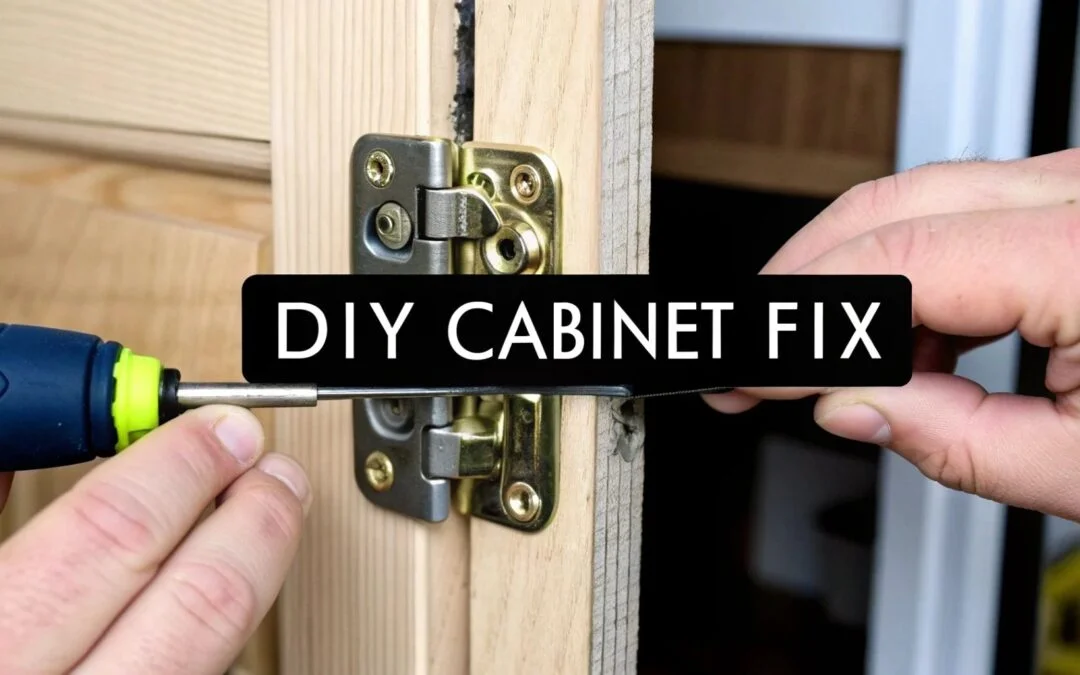
Start by carefully removing the cabinet door from its frame. This allows easier access to the hinges for a thorough inspection. Examine each hinge closely for visible signs of damage, such as bent metal or stripped screw holes. Check the screws themselves to see if they are loose or worn out. Removing the hinges also provides the opportunity to assess the door and frame condition, identifying any underlying issues that might contribute to sagging.
Cleaning and Lubricating Hinges for Smooth Operation
Once hinges are removed, clean them thoroughly to eliminate accumulated dirt, grease, and rust. Using a soft brush combined with a gentle cleaning solution helps restore their surface. After drying, apply a lubricant to the moving parts to reduce friction and promote smooth door movement. Proper lubrication can often alleviate minor stiffness or squeaking without needing a full replacement, extending the hinge’s lifespan.
Replacing Damaged Screws and Components
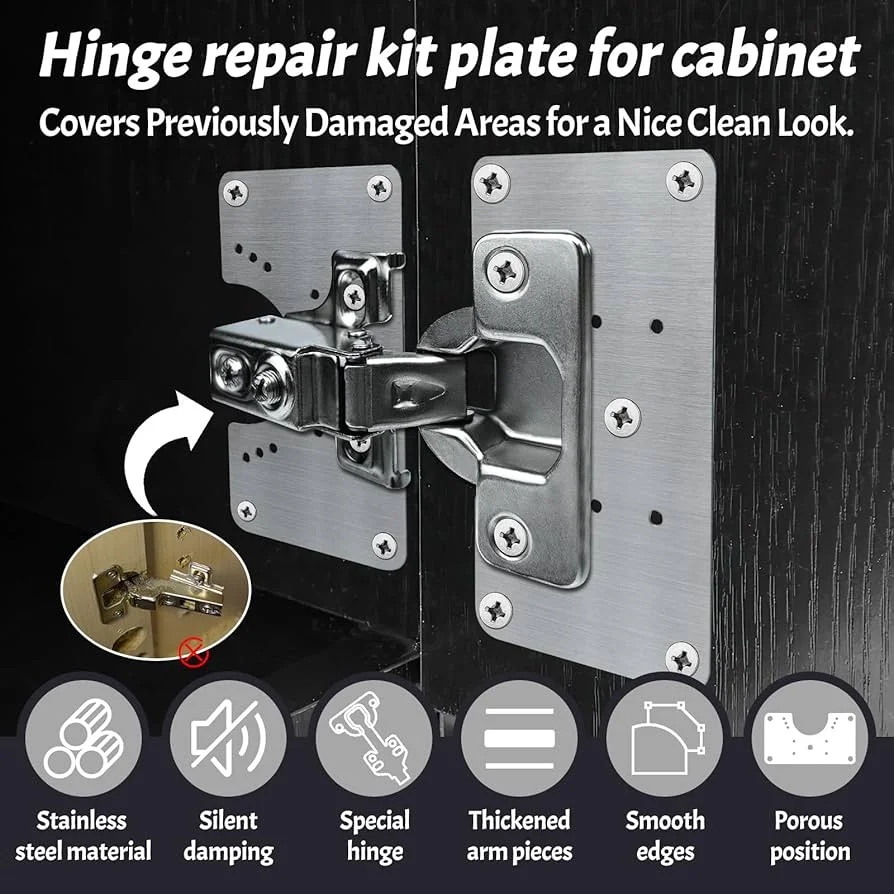
Damaged or stripped screws can compromise hinge stability, causing the door to sag. Replace worn screws with new, preferably larger ones if the original holes are too loose. This ensures a better grip within the cabinet frame or door material. In cases where screw holes have expanded excessively, consider filling them with wood filler or installing dowels for a secure hold. This attention to detail prevents recurrent issues and supports the restored hardware effectively.
Fixing Sagging Cabinet Doors Without Replacing Hinges
Adjusting Hinges for Proper Door Alignment
Before opting for hinge replacement, try adjusting the existing hinges to correct alignment problems. Many modern hinges feature adjustment screws that allow fine-tuning of door position vertically, horizontally, and in-depth. By carefully turning these screws, you can raise or lower the door, move it closer to the cabinet frame, or tilt it for a perfect fit. This technique is both cost-effective and straightforward, providing immediate improvements.
Adding Support with Shims and Mounting Plates
If adjusting hinges is not enough, additional support methods such as shims or mounting plates can stabilize the door. Placing thin shim pieces behind the hinge leaf helps fill gaps caused by uneven surfaces or worn materials. Mounting plates also reinforce the hinge attachment point, distributing weight more evenly. These solutions prevent further sagging without the complexity of full hinge replacement, maintaining cabinet aesthetics and function.
Preventative Maintenance Tips to Avoid Future Sagging
Regular Inspection and Tightening
Routine checks are vital to keep cabinet doors operating properly. Regularly inspect both top and bottom hinges to ensure all screws remain tight and components show no signs of deterioration. Tightening loose screws at the first sign of movement prevents small problems from escalating into sagging doors. This simple practice extends the life of your cabinet hardware and maintains door alignment consistently.
Using the Right Hardware for Heavy Doors
For heavier cabinet doors, using the correct hinges and screws is essential. Standard hinges may not bear the extra weight effectively, leading to premature wear and sagging. Choose hinges rated for heavier loads and complement them with longer or thicker screws to enhance grip. Investing in appropriate hardware upfront reduces the chances of alignment issues, ensuring durable and smooth door operation over time.
Troubleshooting Persistent Door Alignment Issues
When to Replace Hinges Entirely
Sometimes, despite all adjustments and repairs, hinges may be too damaged or worn for effective restoration. If you notice cracks in the metal, bent parts, or consistent loosening that cannot be resolved with new screws, hinge replacement becomes necessary. New hinges restore structural integrity and eliminate persistent sagging problems. It’s important to match replacements with the original hinge type and size to maintain door fit and appearance.
Consulting a Professional vs DIY
While many hinge repairs are manageable at home, certain situations call for professional assistance. Complex issues like damaged door frames, dowel installations, or extensive hardware replacement benefit from expert knowledge and specialized tools. If you feel uncertain or the problem persists after attempted fixes, seek help from a qualified carpenter or handyman. Professional intervention ensures safety, quality results, and often saves time compared to trial-and-error DIY attempts.


")
