


Understanding Common Causes of Paper Craft Tears
Types of Tears and Their Impact on Projects
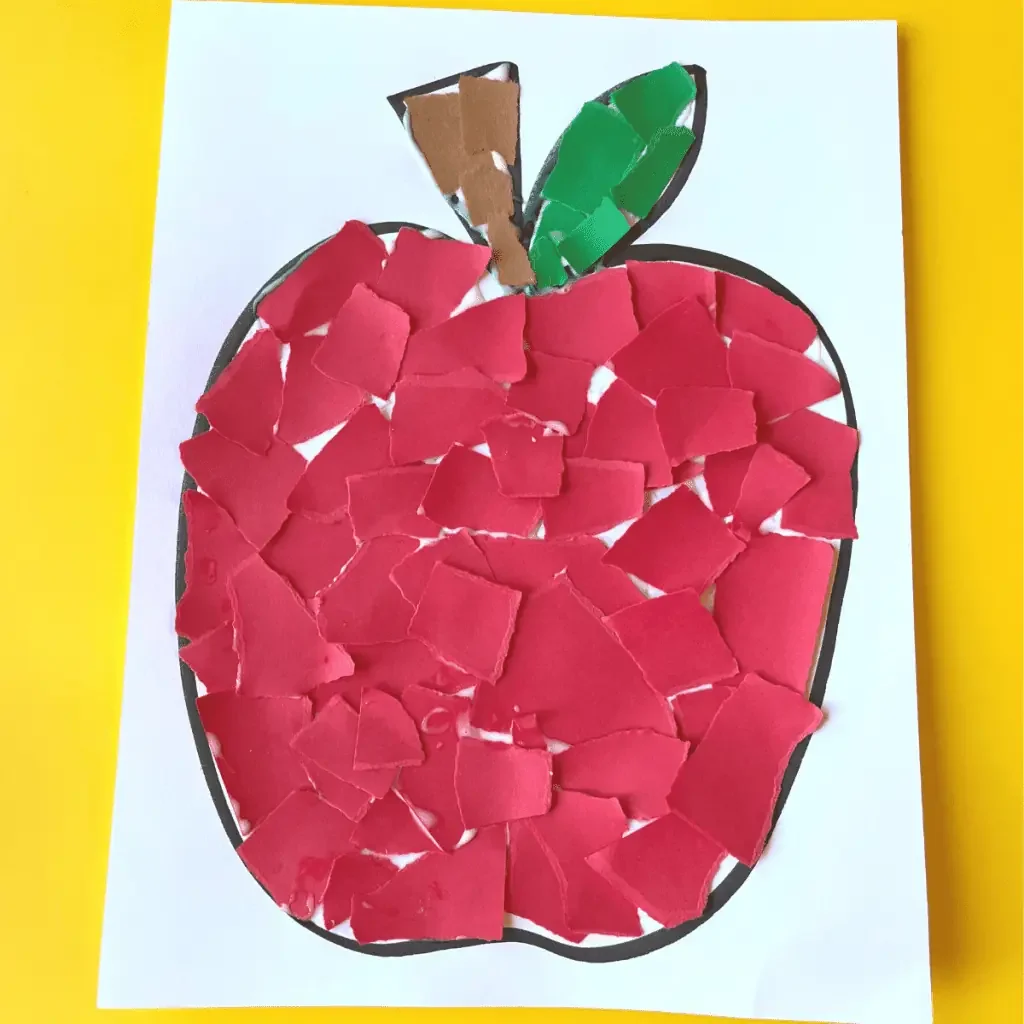
Anyone who enjoys paper crafts knows how fragile paper can be. Tears often happen during handling, folding, or even transporting finished projects. There are different types of tears: jagged rips from accidental pulls, small splits along folds, or thin paper fibers that slowly fray over time. Each type affects the overall look of your craft differently. For instance, a clean tear down the middle of a decorative card can ruin the visual harmony, while minor fraying may only be noticeable upon close inspection.

Understanding these tear types is crucial because the repair approach varies. A careless fix might make the tear more prominent or cause glue marks to show, detracting from the handmade charm.
Why Glue Marks Are a Concern
Glue marks are one of the most common pitfalls when fixing torn paper crafts. Whether it’s a shiny residue, discoloration, or wrinkling, these marks can stand out sharply against delicate designs and pastel colors. Imagine spending hours creating an intricate paper flower only to find unsightly glue streaks glaring at you. Beyond aesthetics, some adhesives can weaken the paper or cause yellowing over time. The challenge lies in finding repair techniques that restore the craft without compromising its beauty or longevity.
Watch the Tutorial
Preparation Before Repairing Torn Paper Crafts
Gathering the Right Tools and Materials
Before diving into repairs, good preparation can save frustration later. You’ll want acid-free transparent tape for invisible fixes, Japanese tissue paper for delicate mending, and possibly specialized heat-activated adhesives for clean bonding. A soft brush, tweezers, and a small damp sponge might also come in handy. Having a bone folder or something similar to flatten the repair ensures a seamless finish. Assemble all tools within reach to make the process smooth and controlled.
Cleaning and Preparing the Torn Edges
It’s surprising how a little dirt or excess fibers can affect the adhesion and appearance of your repair. Approach the torn edges gently with a dry, soft brush to remove dust or loose particles. If the paper edges are rough, lightly trim any hanging fibers with a sharp craft knife for a cleaner surface. Be careful not to widen the tear or create new damage. This preparation primes the paper to accept adhesive without creating lumps or bubbles, making the repair less noticeable.
Step-by-Step Techniques to Repair Torn Paper Without Glue Marks
Using Acid-Free Transparent Tape Invisibly
One easy and quick method is to use acid-free transparent tape, which minimizes yellowing and damage over time. Place the torn piece on a flat surface and align the edges carefully. Cut a small strip of tape just longer than the tear. With steady hands, apply the tape from one end to the other, ensuring no wrinkles form. Press it down gently with a bone folder or your fingernail to smooth it out. Because this tape is clear and thin, it blends well with most papers, making the tear nearly invisible.
Applying Japanese Tissue Paper for Seamless Repairs
Japanese tissue paper is a favored material among conservators and crafters for its thinness and strength. To use it, cut a piece slightly larger than the tear. Mix a tiny amount of acid-free adhesive with water to create a delicate glue solution. Using a fine brush, apply the glue sparingly along the tear, then lay the tissue over the area. Smooth it gently with your finger or a soft tool to ensure it sticks without bubbles. This method restores the paper’s structural integrity while remaining almost invisible, especially on thin or antique papers.
Heat-Activated Adhesives for Clean Results
Heat-activated adhesives, like thermal bonding films, offer a mess-free way to fix tears without visible glue marks. Place a small piece of the adhesive between the torn edges, cover with a protective sheet, and apply heat using an iron at low temperature. The adhesive melts and bonds the paper cleanly without seeping out. This method is especially useful for heavier weight papers or multi-layered crafts, offering durability and a smooth finish. Just be careful with heat settings to avoid scorching the paper.
Alternative Methods to Avoid Glue Marks
Double-Sided Tape Tips and Tricks
Double-sided tape can be a lifesaver when you need a quick repair without the risks of liquid glue. It provides instant adhesion and doesn’t soak into the paper to cause warping. For best results, cut very narrow strips and place them discreetly behind the torn edges. Press firmly but gently to avoid bulging. This technique works well for paper crafts like cards or scrapbooking, where the repaired area isn’t heavily stressed.
Using Wax Paper for Temporary Holding
Sometimes, you might want to hold the torn edges together temporarily while deciding on a permanent fix. Wax paper can be placed between the torn pieces so that temporary adhesives don’t stick permanently, or used to protect the craft from glue seepage in other areas. For example, when applying heat-activated adhesives, a thin sheet of wax paper shields your iron and the craft. This simple trick keeps your workspace tidy and prevents accidental damage.
Post-Repair Care and Preservation
Flattening and Drying Techniques
Once repaired, it’s essential to flatten the craft to prevent unwanted curling or bumps. Place the piece between clean, heavy books or under a flat board weighted down. If you used any moisture in the repair, allow it to dry fully in a low-humidity environment. Avoid direct sunlight, which can cause fading or warping. Taking time with this step ensures your repaired craft looks as smooth and natural as possible.
Protecting Repaired Areas for Longevity
Finally, consider protective coatings like a soft fixative spray or placing the paper craft in a plastic sleeve if suitable. These precautions shield against dust, moisture, and handling damage. Regularly inspect your projects, especially those repaired with delicate tissues or tapes, to catch any signs of wear early. With thoughtful care, your repaired paper crafts will continue to delight for years without showing signs of repair or glue marks.


