


Understanding the Importance of Clean Gas Grill Grates
Imagine firing up your grill on a sunny weekend, ready to cook a juicy steak or some fresh vegetables, only to find old bits of burnt food stuck to the grates. Not only does this affect the taste, but lingering residue can quickly lead to flare-ups and uneven cooking. Clean gas grill grates are essential for preserving the authentic flavors of your food and ensuring your grill operates safely. A clean grate prevents unpleasant smoke and burnt tastes, helping every meal taste as fresh as intended.
Consider a family barbecue where the grill wasn’t cleaned after the last use. The charred remnants from previous meals can alter the flavor of what you’re cooking now, turning what should be a delicious dinner into a smoky, bitter experience. Beyond flavor, buildup can cause grease fires, putting you and your guests at risk. Thus, maintaining clean grill grates not only enhances taste but also improves safety and prolongs the life of your grill.
Gathering the Right Tools and Materials
Essential Cleaning Supplies
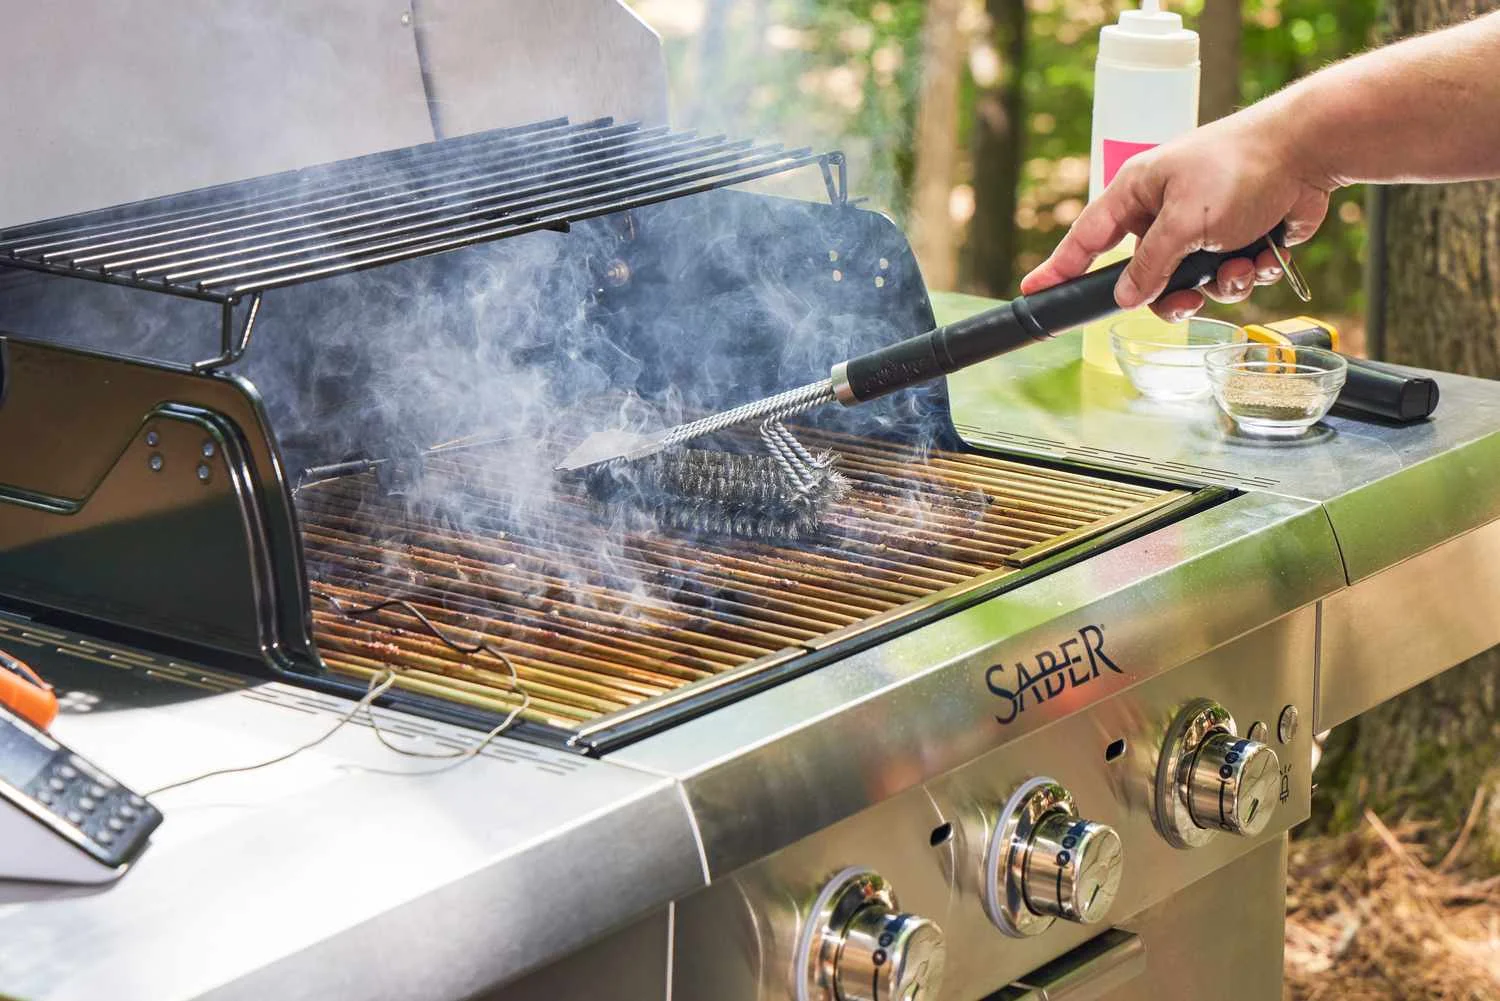
Before you start, having the right tools at hand makes the process smoother. A sturdy grill brush or scraper is vital for removing stuck-on food and grease. Some prefer wire brushes, but be cautious, as steel bristles can loosen and contaminate your food. Many grill owners choose to follow up with a damp cloth to ensure no bristles remain.
Additionally, keep a rag or paper towels ready. Holding them with tongs when wiping hot grates will protect your hands from burns. This simple trick is a lifesaver when you need to clean quickly before cooking. Also, having a spray bottle with warm, soapy water for regular maintenance helps cut through grease without harsh chemicals.
Optional Accessories for Deep Cleaning
When it’s time for a deeper clean, tools like a Scotch-Brite Heavy Duty Scour Pad can be invaluable for tackling tough grease deposits without damaging your grill parts. Some grill owners also keep a container for soaking their grates in warm, soapy water or specialized grill cleaner solutions. Wire mesh baskets help in holding smaller parts during cleaning, and a garden hose or handheld sprayer makes rinsing easier.
Having replacement parts on hand, such as burner hoods or new cooking grates, can be handy if wear and tear are evident during your inspection—a proactive move that many seasoned grill enthusiasts swear by.
Preparing Your Grill for Cleaning
Safety Precautions to Follow
Before diving into cleaning, safety must come first. Always ensure your grill is turned off and disconnected from the gas source when performing a deep clean. If you’re cleaning right after cooking, avoid touching hot parts directly. Use tools or protective gloves to prevent burns.
Another safety step is to check for clogged burner ports. Watching the flame while the grill is running can help you spot irregular flames which indicate blockage. Clearing these ensures better heat distribution and reduces the risk of flare-ups.
Pre-Cleaning Setup and Cooling
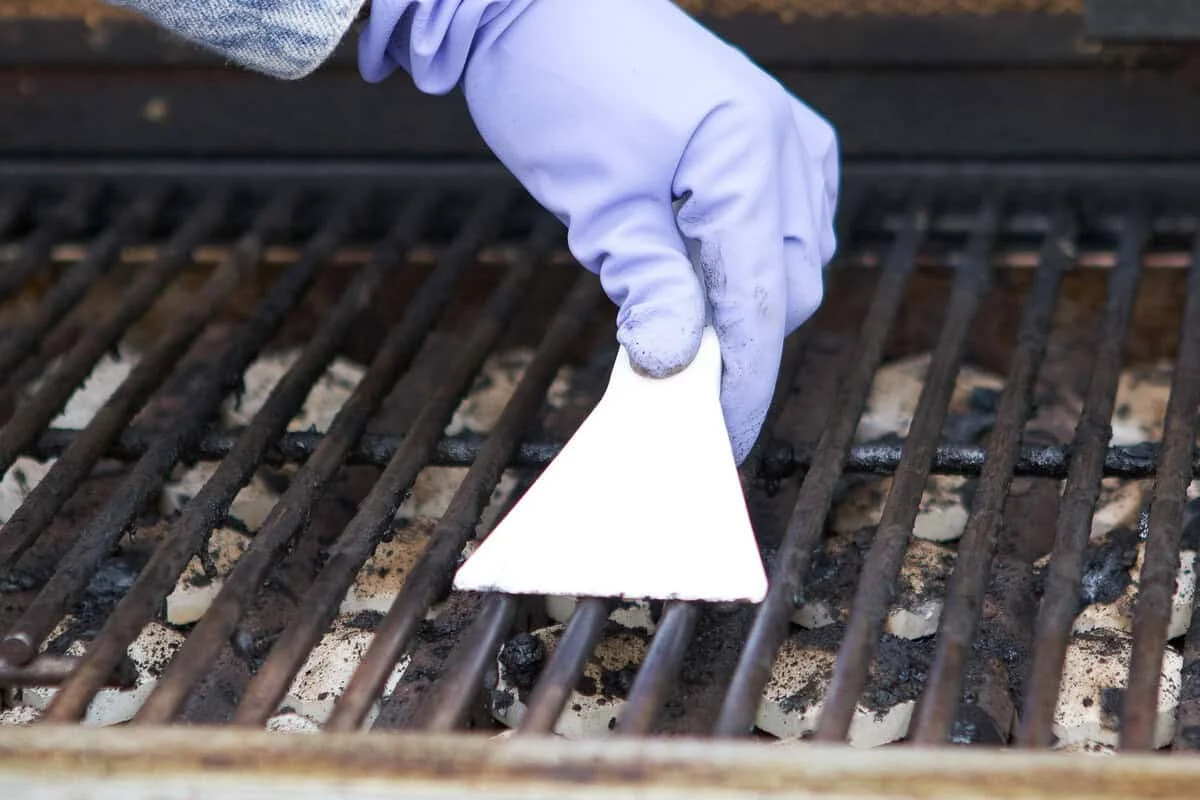
Many grill users make the mistake of scraping porcelain-coated cast-iron grates while they are too hot, risking damage and rust. Instead, run your grill on high with the lid closed for about 10 minutes to loosen residue, then allow it to cool slightly. This method not only protects the coating but also makes scraping easier and more effective.
Remove any detachable parts like grease pans and trays beforehand. Neglecting these often leads to grease fires and difficult cleanup later. Place everything on a surface that can handle some mess to avoid cleaning on knees or hard floors, which can be uncomfortable and slippery.
Step-by-Step Cleaning Process
Initial Scrubbing Techniques
Start by scraping the grates with a grill brush or scraper while they are still warm, which helps dislodge leftover food particles effortlessly. Many grill aficionados find this quick action right before cooking saves them from hours of scrubbing later. For added cleanliness, wiping the grates with a rag held by tongs after scraping ensures any loosened debris is removed safely.
Be cautious with wire brushes: use them only for scrubbing and always wipe the grates after to catch any stray bristles that may pose a hazard in your food.
Soaking and Removing Stubborn Residue
For grills that haven’t been cleaned for a while, soaking the grates in warm, soapy water or a grill cleaner solution can loosen stubborn grease and grime. Letting them sit for 30 minutes to an hour during seasonal deep cleans can make a world of difference. After soaking, using a heavy-duty scour pad will help break down persistent buildup without harming your grates. Frequent seasonal cleaning like this prevents the accumulation of grime that can reduce the grill’s efficiency and flavor quality.
Rinsing and Drying the Grates
Once scrubbed clean, rinse your grates thoroughly with water to remove any soap or chemical residues. Leaving any cleaner on the grates could affect your food’s taste and safety. Drying them completely is crucial to prevent rust, especially if your grill parts include cast iron components. Some grill owners finish by seasoning the grates with a light coat of cooking oil, further protecting them from rust while enhancing flavor.
Maintenance Tips to Keep Grates Cleaner Longer
Seasoning Your Grates for Flavor Enhancement
Seasoning grill grates is a simple yet effective way to protect them and add a subtle layer of flavor to your food. After cleaning and drying, apply a thin coat of cooking oil and heat the grill for about 15 minutes. This process creates a non-stick surface that repels food and helps prevent rust. Many BBQ enthusiasts swear by this trick, noticing their food releases more easily and tastes better over time.
Regular Cleaning Schedule Recommendations
Establishing a cleaning routine is key to hassle-free grilling. Ideally, clean your grill grates after every cook, which only takes 5-10 minutes. This habit keeps buildup minimal and avoids the need for labor-intensive deep cleans. Deep clean your grill seasonally—roughly every few months or after heavy use—allowing you to tackle grease pans, burner ports, and any hidden grime.
Remember to cover your grill only when completely cooled to avoid trapping moisture that can cause corrosion, and routinely inspect for worn-down parts to replace them timely.
Signs Your Grill Grates Need a Deep Clean
Noticing smoke that smells burnt or food sticking excessively are clear indicators your grates are overdue for a thorough scrub. Flame irregularities or visible blockages in burner ports also signal it’s time for maintenance. If your cooked food consistently tastes off or charred in unexpected ways, a deep clean may restore your grill’s performance and flavor quality. Persistent grease buildup, rust, and discoloration are further signs that a simple wipe isn’t enough.
Expert Tips to Maximize Grill Flavor Post-Cleaning
After cleaning, maximize flavor by preheating the grill well before cooking. This step ensures grates are hot enough to sear food, locking juices inside. Avoid flare-ups by keeping grease pans clean and managing drip trays diligently. Using fresh high-quality charcoal or gas also plays a role—clean grates can only do so much if the fuel source is poor.
Season your grates regularly and avoid harsh chemical cleaners that might leave residues affecting taste. Finally, consider rotating your cooking techniques, such as using indirect heat or smoking, which benefits from a clean grill surface. Learning from seasoned grill masters, these steps together ensure every meal is a flavorful success.


